www.industryemea.com
24
'20
Written on Modified on
Vision Labs can see clearly now thanks to Keyence
More than six in 10 people in the UK have some requirement for glasses, meaning the range of lens combinations required to suit all of their needs is almost infinite. Significant effort goes into the cutting, polishing and treatment of every lens. Given the importance of ensuring the correct prescription, and the proximity of the lens to the wearer’s eye, any sort of defect simply cannot be countenanced.
One of the UK’s leading manufacturers of bespoke lenses, and a partner of 20 years plus to many of the leading names in the dispensing optician sector, is Vision Labs Ltd. Its specialist facility at Kidderminster in Worcestershire processes millions of lenses every year, each one tailored to the needs of the individual customer.
A complex technical process
Raw plastic material is cut to the required geometry by CNC milling and turning equipment, before a high-speed polishing process smooths the lens and removes any remnants from the milling and turning processes. Each lens then undergoes a visual inspection and verification against the patient’s prescription, before undergoing any treatments required such as tinting, UV protection and the application of scratch- resistant coatings and the latest multi-layer anti-reflection coatings, as needed.
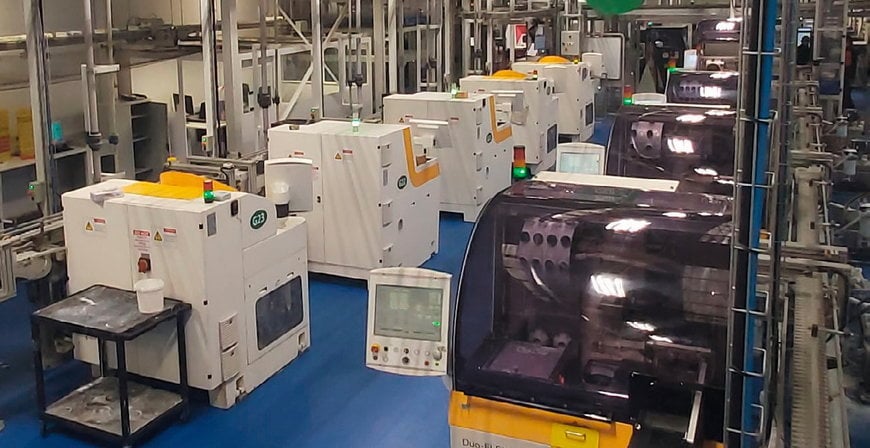
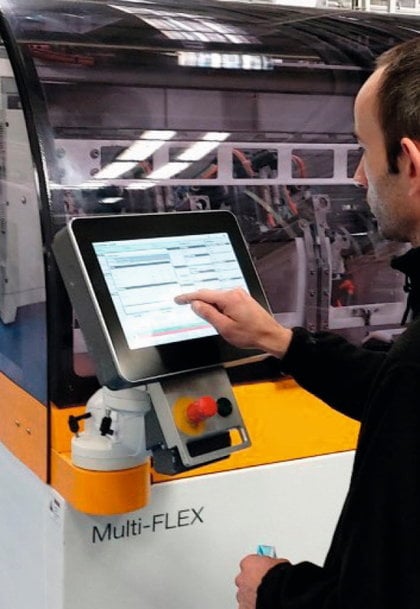
“All of our processing equipment is calibrated to very tight tolerances – as little as two microns – to ensure the best possible product quality and life cycle for consumables. However, all CNC equipment can be prone to positioning errors over time, emanating from natural wear and tear, or moving parts which are coming to the end of their lives and require replacement.
“During manufacture, each lens is subject to various levels of stress and heat. If these are not managed correctly, issues may arise which mean the lens may be rejected. In that event, we have to spend time investigating what has happened to determine the root cause then take any remedial action needed.
Machining accuracy is vital
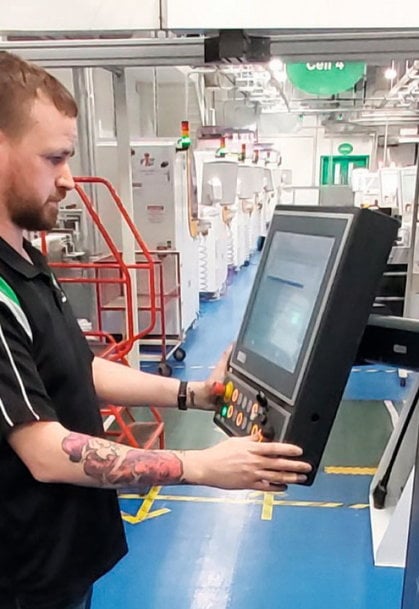
“Key to minimising the risk of defects is ensuring optimal machining machine tool accuracy. Previously we assessed this based in tool displacement using an eye glass with a scale. However, this method has limitations, even for the highly experienced tool setters within our team” says Anthony Woodhouse.
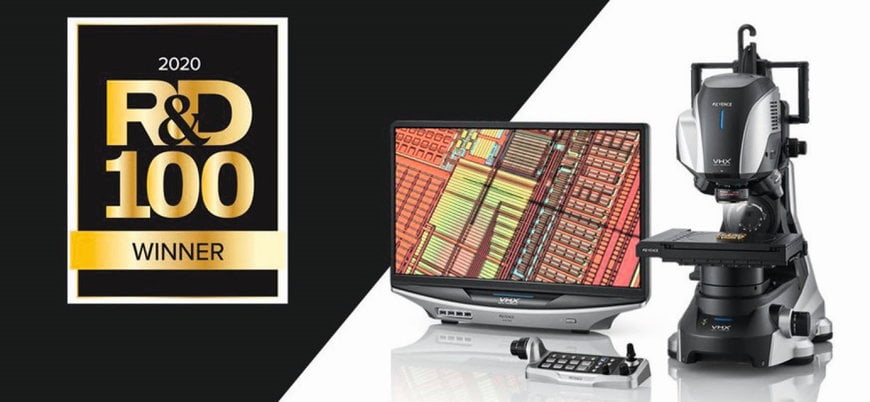
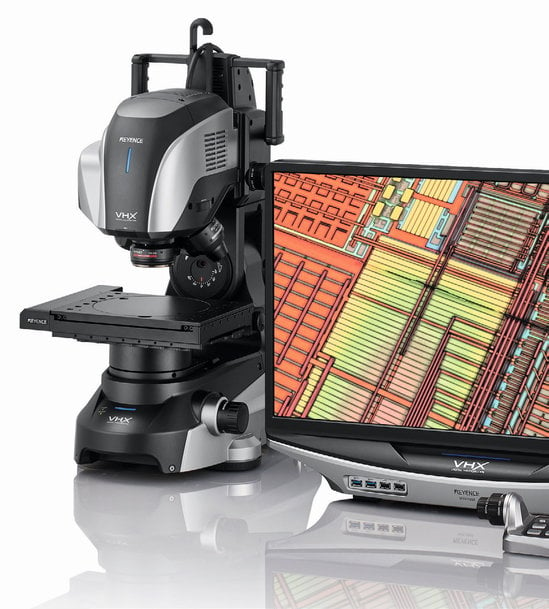
The system’s high magnification and 4,000 pixel count – the world’s first microscope to offer this – combined with two-dimensional edge detection software which snaps to the lines of contrast meaning the risk of differences between users is eliminated, allows calibration tolerances as low as 0.1 microns.
Meanwhile, the glare removal feature and rapid 3D depth composition, combined with the VHX’s easy-to-use of software, meant that wear on diamond cutting tools can be rapidly assessed to ensure they are replaced only when needed, creating cost savings for Vision Labs.
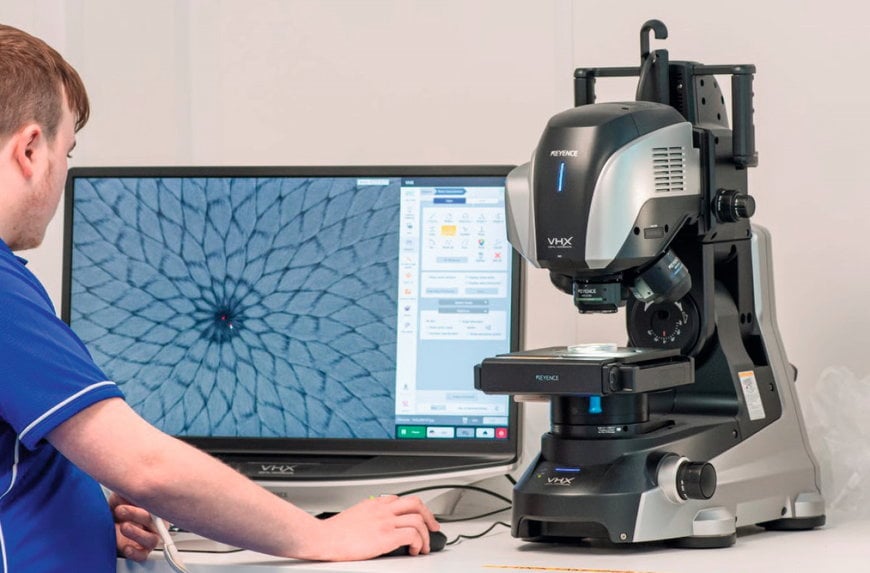
Perhaps the greatest benefit has come in the area of analysing coatings, where the VHX’s world first optical shadow effect mode (OPT-SEM) allows these transparent features to be viewed more readily and so defects identified more rapidly. The multi-lighting feature, allowing immediate change between ring, coaxial, polarised and transmitted lighting, also assists the clarity of view.
Anthony Woodhouse continues: “The Keyence microscope is easy to use and gives us incredibly accurate and detailed information. removes the issues associated with the previous visual testing, as it enables us to calibrate our machines extremely accurately and counter any issues in our processes. It has enabled us to view defects in a way that was not possible before, equipping us with a better understanding of how they occur – and how we can minimise the risk of defects.
“We had used other Keyence equipment with great success for a number of years and so we were already aware not just of the quality of their products, but the depth of support and training that would be provided. The feedback from colleagues has been fantastic. Overall, we have great confidence in both the equipment and the Keyence team.”
“This latest investment in Keyence equipment has resulted in higher-quality products, fewer interruptions to production and enhanced cutting tool lifetimes – meaning a significant impact on our productivity, service and the bottom line.”
www.keyence.co.uk/VisionLabs
www.keyence.co.uk
KEYENCE LTD.
Avebury House, 219-225 Avebury Boulevard
Milton Keynes MK9 1AU, United Kingdom
Phone: +44-(0)1908-696900
Fax: +44-(0)1908-696777
e-mail: This email address is being protected from spambots. You need JavaScript enabled to view it.

