www.industryemea.com
18
'12
Written on Modified on
New key features for the IM series
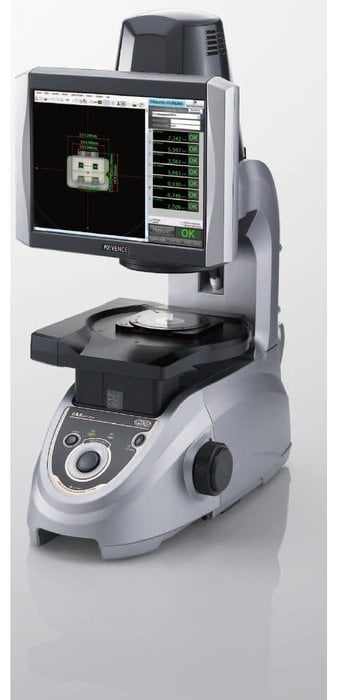
IM-6500 is the new version of the IM series. Due to a better integration to the corporate network and with the processing software provided, it becomes possible to implement component traceability and a quality automated production management. Production drifts detection is thus immediately identifiable. The quality of measurement is also improved by new features.

Contrary to traditional systems of measurement, the IM-6500 series provides for the automatic saving measurement values, because data are digitally processed. This measurement process can now be integrated into the corporate network. Data can thus be easily classified and processed to create an analysis of a statistical index, trend, variations or to prepare inspection records. The major statistical values are automatically calculated and displayed, including the minimum, the maximum, average A, 3A and CPK. You can also set various conditions for group extraction for statistical, analysis, and inspection records. The trend graph/histogram function allows an analysis of production trends and variations. Quick feedback helps quality management prevent defective production.
In addition, the IM-6500 series has a CAD import module. It can convert CAD files into IM measurement data for use by the IM series. You can prepare ranges of quality controls for the parts even before starting with prototype production.
The IM-6500 comes with a new very high resolution sensor head, provided with a power stage which allows for automatic focus adjustment for targets with height differences. Moreover the focus is adjusted based on the recorded height of each measurement point. Thus, the points at the same height are measured simultaneously, ensuring minimum measurement time. This functionality comes in complement of an automatic location/orientation adjustment. With field views of 25mm and 6mm you can reach a measurement accuracy of + 0,7µm accuracy and a repetition accuracy of +-0,2µm. With these features this tool is particularly adapted to the measurement of very small parts such as those manufactured in the clock, medical industries and in micromechanics in general.
Finally, for the analysis of complex shapes (e.g. left profiles, gear teeth etc.) for which line, arc or circle measurement is not enough, the IM-6500 series offers now an overlay with which you can compare the edges of the part to a theoretical diagram.

