www.industryemea.com
14
'15
Written on Modified on
Micron-level in-process inspection of lead frames
Possehl France SAS is a company that specializes in precision cutting and stamping. Thanks to its new TM-3000 optical micrometer from Keyence, it can now conduct very detailed inspections of every single part it produces.
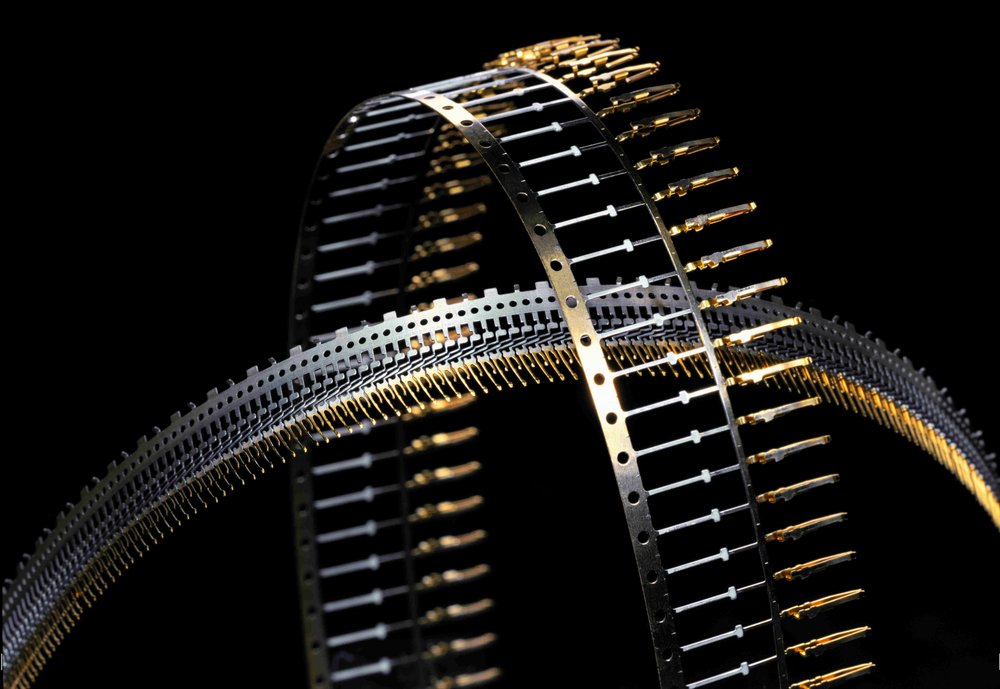
In-process inspections are conducted with a very fine tolerance of around ± 0.005 mm on average at a minimum rate of 15 meters per minute. The presses have a maximum capacity of 1600 strokes per minute.
"We never managed to implement an inspection process that could detect all defects directly on our production lines. Stamping nonconformities are often caused by problems on the die and punch, such as the pulling-up of punched material. We detect these nonconformities by sampling lead frames for visual and dimensional inspection.
But the proper removal of punched material is the most difficult problem. To deal with this, we use a system designed in-house that detects excess thicknesses. It works pretty well, except when punched material gets stuck in the holes, because then no differences in thickness are detected.
However, detecting these differences is essential because the cost of non-quality generated by these nonconformities is very high, accounting for 3 to 4% of our turnover.
Our customers can reject an entire delivery – that's several million parts – if just one defect is found," explains Fabien Maturier, Quality and Maintenance Manager at Possehl Electronics France.
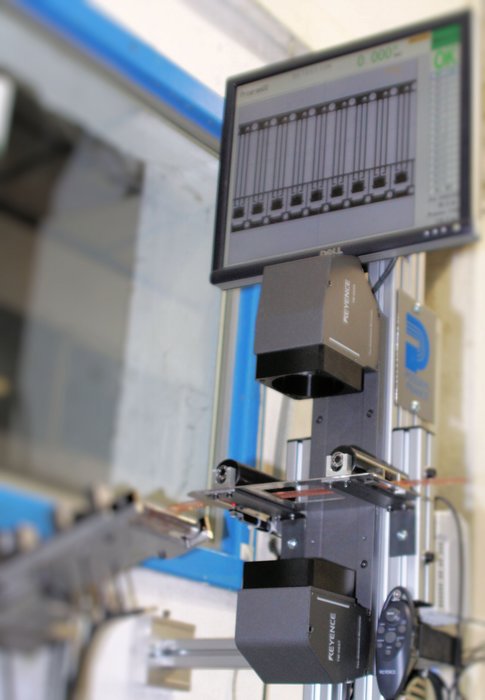
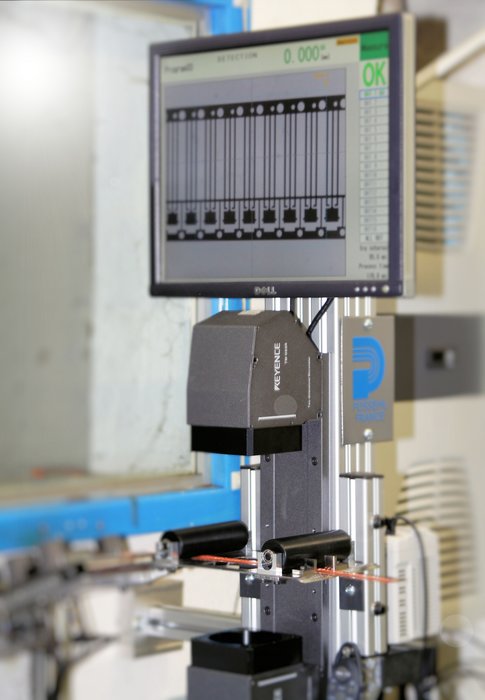
"We then tried a vision system, but, for accuracy reasons or due to the too-high rate, it was able to inspect only 75% of our parts. In addition, there were space issues and the software was complicated. Ultimately, we decided to try out a different technology, and installed a TM-3000 micrometer on one of our stamping lines. It takes no time to program: you define a mask and the sensor checks the conformity. Our line was up and running in less than one hour after we first installed the micrometer," adds Maturier.
The micrometer is located immediately after the press. Internal scrap and the risks of customer complaints are reduced to a minimum by the system, which shuts down the press within a millisecond of detecting a product defect.
"Now we can immediately stop the process and retrieve strips that are useful but which exceed our customers' minimum requirements. What's more, we've eliminated the risk of customer complaints, which, in addition to negatively impacting our brand image, are very costly. We've also boosted our productivity. Before, detection was impossible at rates of more than 200 strokes a minute. Immediately after installing the TM-3000, this capability increased to 400 strokes a minute and I know that we can go even higher," says Maturier.
The TM-3000 by Keyence is the most effective inspection solution for Possehl Electronics.
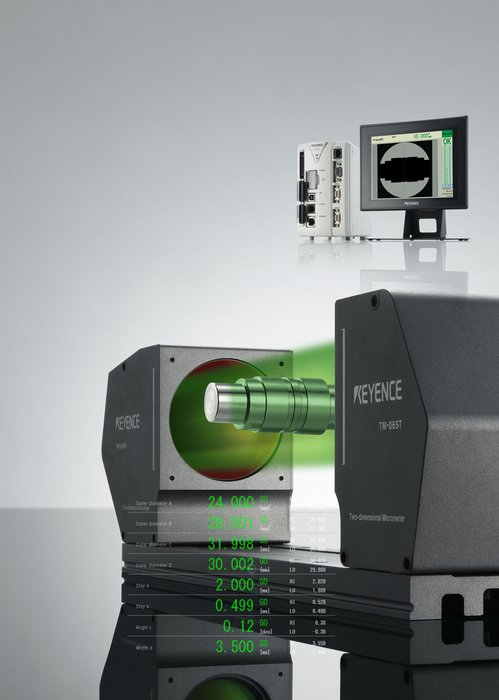
This new 2D sensor allows micron-scale in-line measurements and is a much more accurate alternative to vision systems. It features a high-speed CPU and two dedicated image-processing DSPs. With a total of four processors for parallel processing, it can achieve ultrafast processing speeds of up to 1800 images per minute. The TM-3000 employs a dual telocentric optical system to create a beam of uniform collimated light which allows it to accurately measure no matter where the part is in relation to the transmitter/receiver. Its 2D CMOS array uses this light to detect the light-to-dark transitions and thus measure the dimensions of passing targets.
Moreover, the TM-3000 Series' position correction function automatically corrects target alignment and inclination errors to ensure accurate measurements even when positioning is difficult or objects do not travel at uniform rates. Sub-pixel processing is performed to guarantee high accuracy measurements of 0.5 µm to 3 µm, depending on the model, and ±0.06 µm to ±0.2 µm repeatability. It also incorporates LED technology for exceptional stability and extended longevity. Lastly, the system combines more than 15 measurement modes used in most applications, including outer diameter, center distance, intersection point, angle, height, pitch, perpendicular distance, radius and circularity.
"The measurement stability is perfect. Each day, we are surprised by how easy the system is to use. Our production operators have adopted it for good," says Maturier.
Possehl Electronics France is a subsidiary of Possehl Electronics, the premier European provider of interconnects in the semiconductor industry (www.possehlelectronics.com). Its operations cover smart cards and connections.
http://www.keyence.com/possehl
