www.industryemea.com
08
'13
Written on Modified on
Keyence’s IM Series Speeds Up and Simplifies Inspections for Timex
Keyence’s image dimension measurement system puts much faster in-process inspection within everyone’s reach.
«We wanted more modern and more efficient optical inspection equipment. In other words, we wanted to be able to inspect more parts in less time,» says Sylvain Scotto of Fralsen’s Quality Control Department. «We also wanted a machine that could be operated by non-specialists and be able to log measurements.»
The tolerances and accuracies are 15 μm for concentricity and ± 10 μm for centre-to-centre spacings and distances. There are at least five critical points per part.
«With conventional inspection equipment, measurements took too long. As a result, we couldn’t measure many parts and there was a risk of overlooking signifi cant variations within batches. Before obtaining the IM Series, we used a variety of equipment. Our optical measuring device, which, although very accurate, is not very practical for quick measurements on a daily basis. Furthermore, it requires a high level of skill to operate. The shop microscopes provide accurate measurements,but are tricky to operate and severely limit the number of measurements and parts. In addition, a reference point for truing-up has to be created. Lastly, due to the sometimes long inspection times, our templates and projectors allow only a limited number parts to be measured and there is a risk of misinterpretation,» adds Sylvain Scotto.
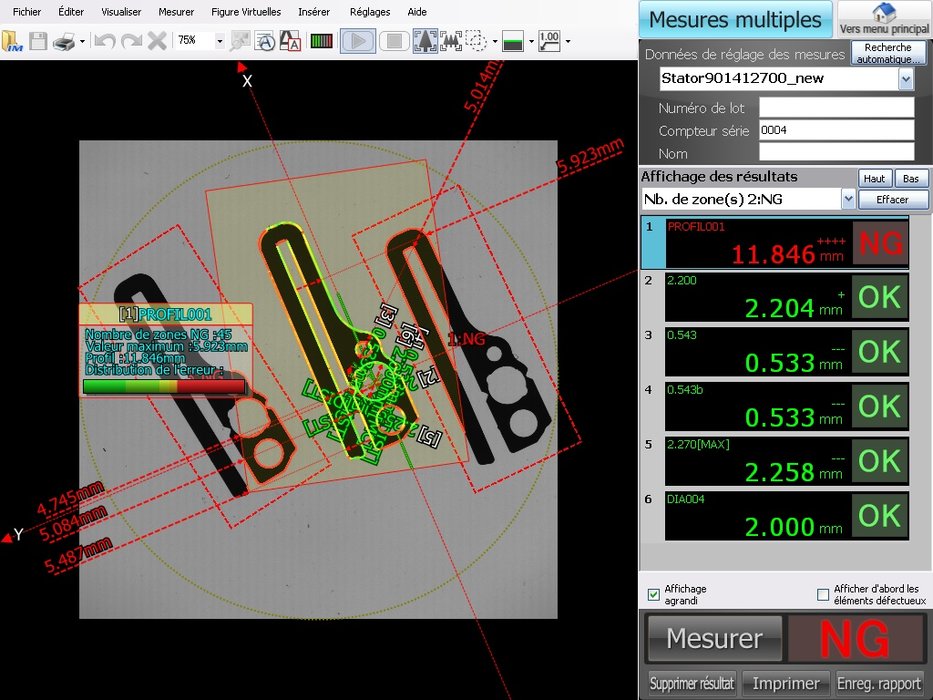
«The IM Series is simpler to operate, saves time and eliminates variations of interpretation of measurements. Results are conveniently displayed green (for good) or red (for bad). Keyence’s solution allows several parts to be measured simultaneously. The size of the parts and the number of elements making up the program are the only limits. There is no need for manual truing-up because the system does it all by itself by recognising each part’s geometry. Furthermore, results can be saved and statistics tracked. Part profiles can be compared against master profi les imported from CAD fi les. As a result, we no longer need to position templates on parts and measure differences in shape by eye. The machine does so automatically and extracts an image of the contour showing the difference with the tolerance. All in all, measurements are fast and do not require special skills.»
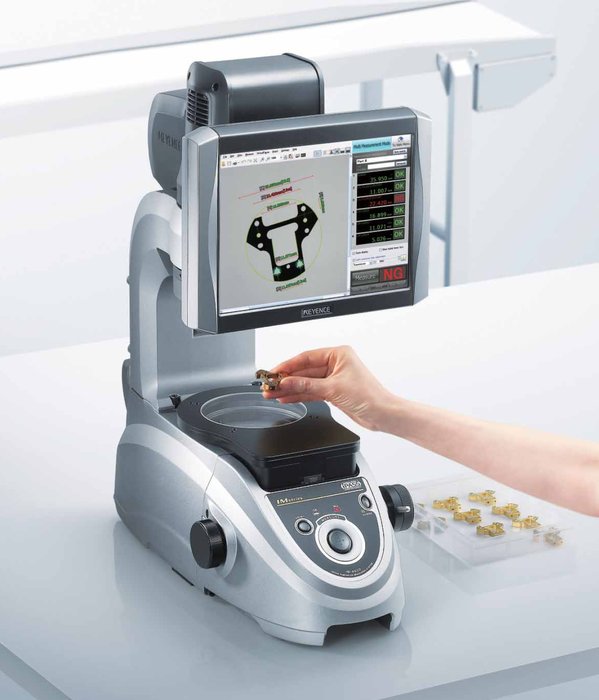
The new IM-6500 Series image dimension measurement system reliably measures features in almost no time at all. Simply place a target on the stage and press the button. Up to 99 points are measured in a matter of seconds with a repeatability of ± 1 micron. Targets are found and measured regardless of their position or orientation and there is no risk of measurements being affected by variations in operator skill levels.
Thanks to the iPASS shape detection method, the system determines the position and angle of targets, making measurements automatic.
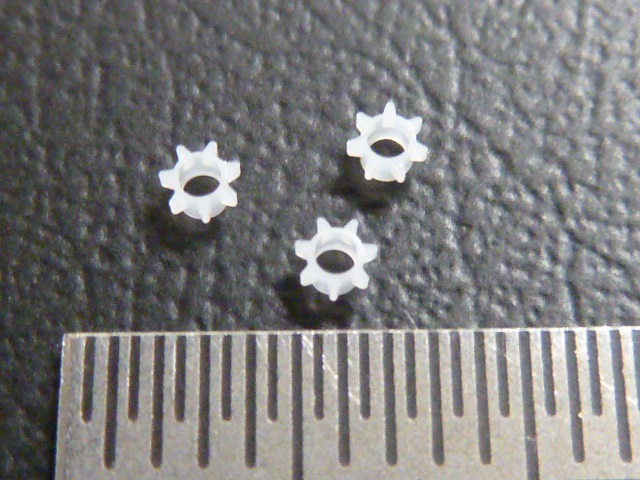
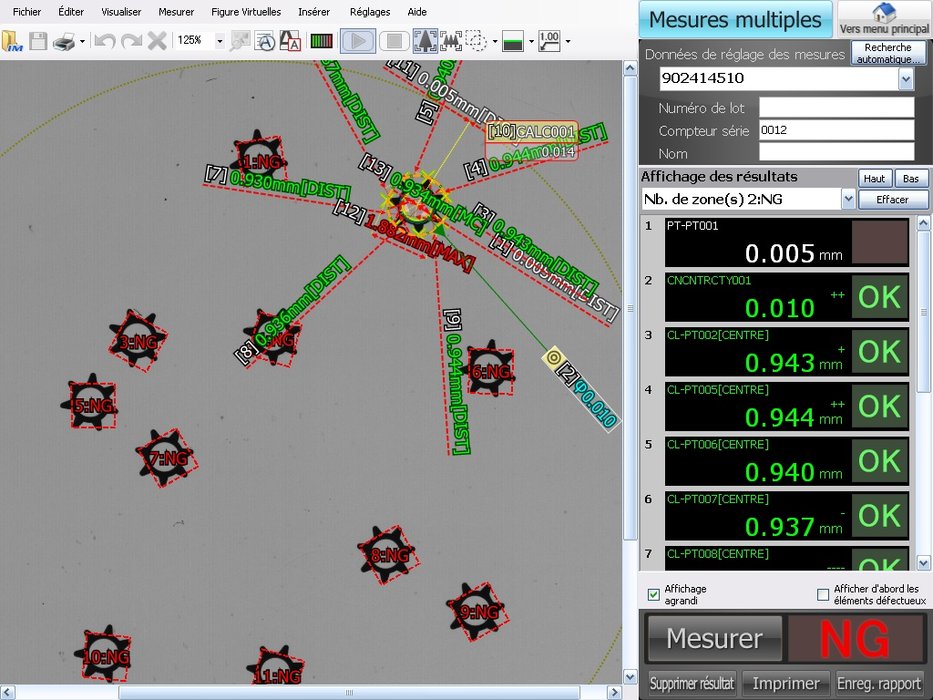
«Getting to grips with the system was easy because all you have to do is adjust the focus and load the program for the part being inspected. All the QC technicians in the Quality Department use the machine for fi nal inspection of parts before their placement in stock. The operators in the cutting shop also use it to measure certain parts during production. The programming is completely user-friendly. The faster inspection times enable us to track dimensions better and thus improve the quality of a large number of the parts we deliver. What’s more, we haven’t received a single complaint from clients about any of the parts
measured on the machine. For example, we use Keyence’s IM-6500 to inspect the concentricity of every single cut wheel and automatically record the measurements,» says Sylvain Scotto.
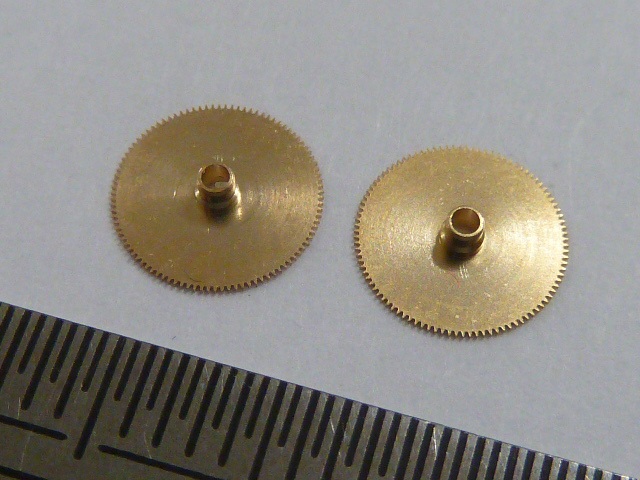
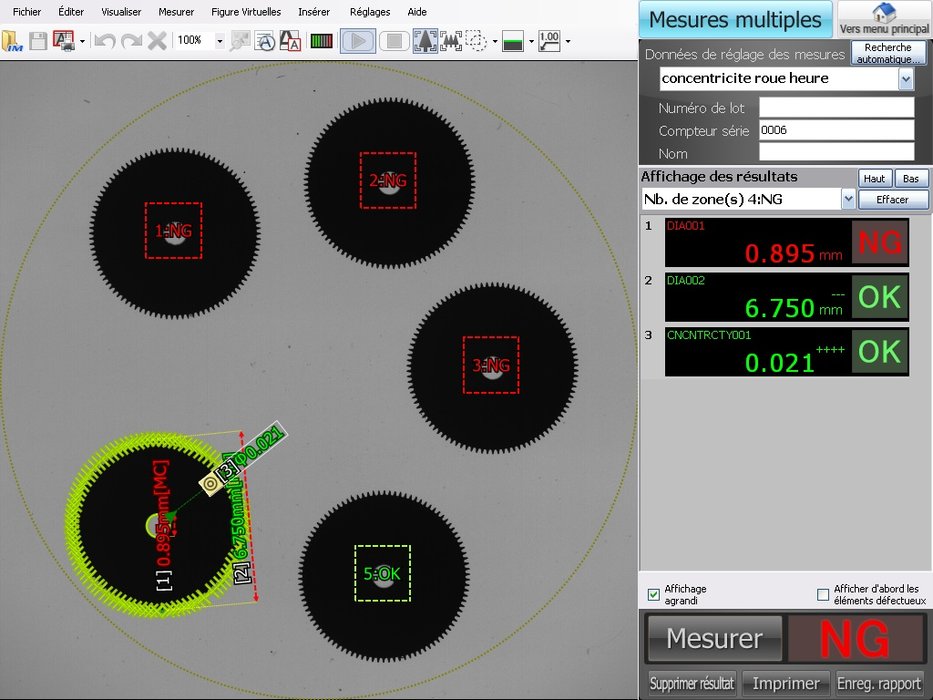
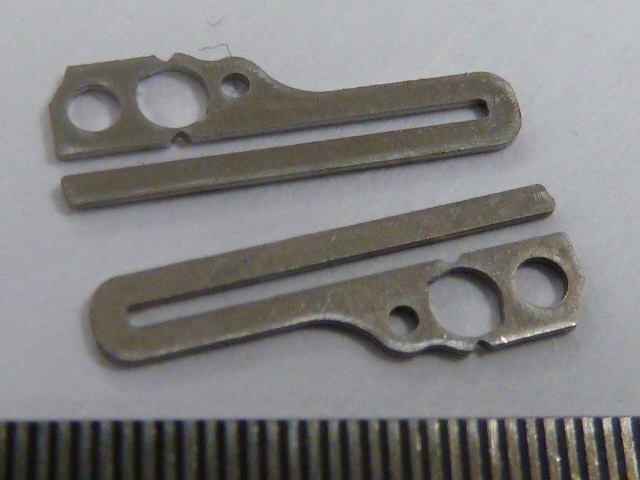
The contour of the stator is superimposed on the CAD file. With the old method (template and projector), this process was long. Now, three parts can be inspected in less than one minute instead of five in five minutes. The profile also allows the Mechanical Engineering Department to see where parts need reworking. The red contour shows that the stator is at the tolerance limit in places (blue zone).
Wheel corrector: inspection of the concentricity of the toothing with the inner bore. With a profile projector and a template, three parts were inspected in three minutes. With the IM Series, Timex can inspect (and record) more than 10 parts simultaneously in the same amount of time.
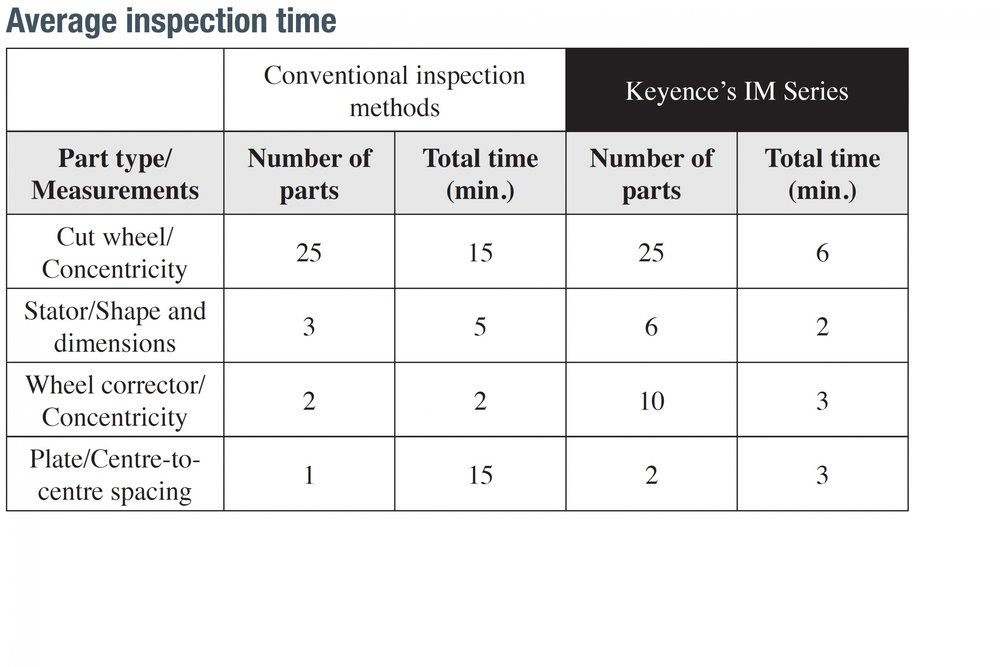
Cut wheels: inspection of the concentricity of the toothing with the bore.
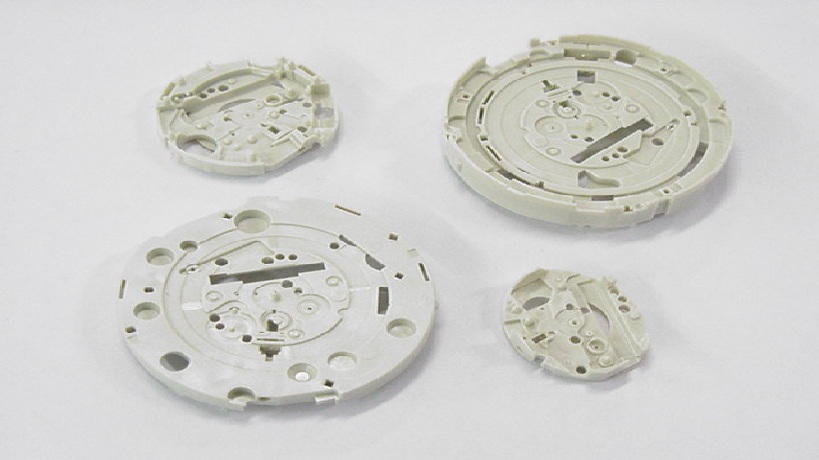
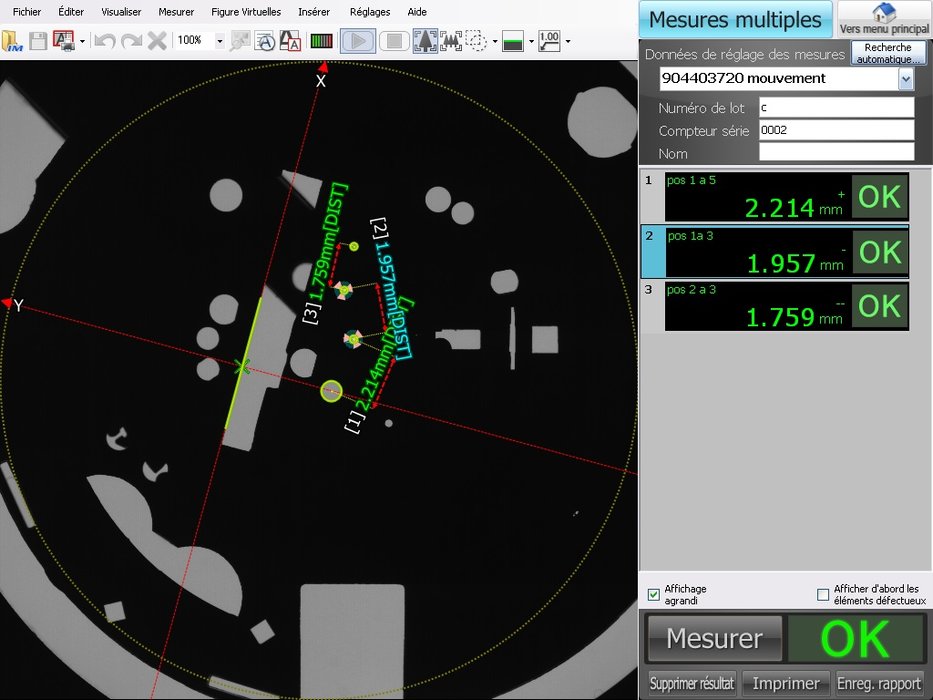
Inspection of centre distances of geartrain bores on plastic plates. Less than three minutes are needed to inspect two parts.
For more information: http://www.keyence.co.uk/PRIM

