www.industryemea.com
30
'20
Written on Modified on
Fully automated surface quality check of bearing balls
The Center of Device Development at the Fraunhofer Institute for Silicate Research ISC has developed a fully automated check system for bearing balls that is unique in the world. The sophisticated quality inspection system is based on machine vision components from STEMMER IMAGING.

High-precision ball bearings must meet special tribological requirements to ensure their long-term, fault-free performance in drive technology for example in gearboxes without lubricants. Ceramic ball bearings currently offer the best technical properties for this purpose and are therefore used in many high-end applications.
The production of the required bearing components and in particular the bearing balls requires highest precision and process reliability: even the slightest deviation from the optimum shape or the desired surface quality can cause bearing damage and failures in the end customer's application, which can result in liability claims against the manufacturer.
To minimize this risk, the Center of Device Development (CeDeD) at the Fraunhofer Institute for Silicate Research ISC has designed and manufactured a fully automated, robot-based inspection system for a well-known bearing ball manufacturer.
The Ceramic Ball Check System (CBCS) has been in operation since the beginning of 2019 and its performance largely depends on the built-in machine vision systems.
Two modules
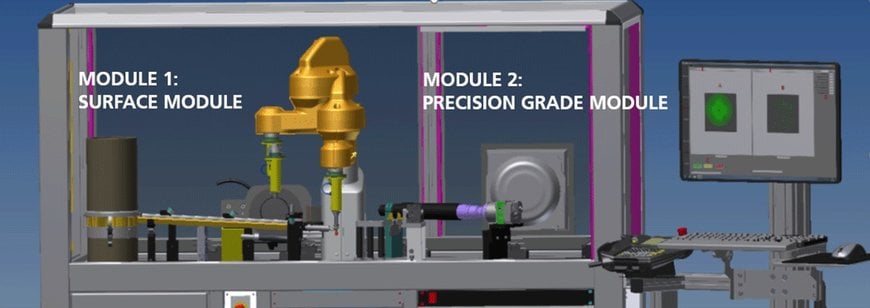
The developers at the Fraunhofer Institute split the complete bearing ball check into two separate units: In the first step, the components’ roundness is checked in accordance with the standards, followed by quality control of the ball surfaces in the second step. The exact feeding of the bearing balls to the respective testing module, the passing-on of defect-free balls and the ejection of faulty products is carried out by a robot. The required testing speed of the system resulted from the preceding manufacturing process: the developers’ goal for the entire system was 2000 balls per hour.
Besides the requirement for speed, the properties of the ceramic balls posed further challenges for the machine vision system, emphasizes Dr. Andreas Diegeler, head of CeDeD:
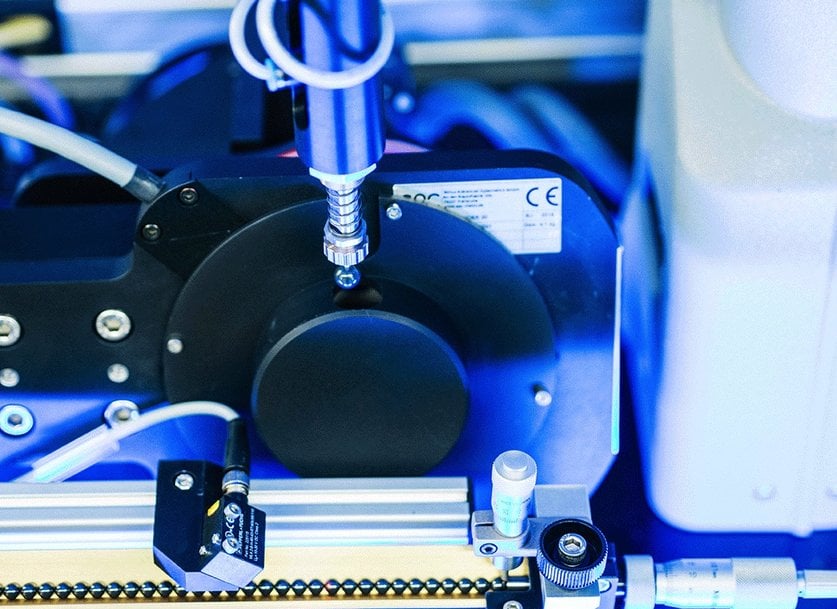
The surfaces to be measured are highly reflective and require a special illumination system that minimizes the reflections in order to solve the various measurement tasks. In addition, the system had to be flexible, as various standardized ball sizes with diameters of 3 to 10 mm had to be tested with it. All in all, these were very demanding requirements for a fully automated quality inspection system.

An expert vision partner
Right from the start, Diegeler and his team knew that the reliable inspection of bearing balls at the required speed was only possible with the help of suitable machine vision systems: "In the past, we have implemented around fifty systems in seven different application areas, each one tailored to the customers’ needs and in use all over the world. Machine vision has always been a core element of our measuring systems". Despite the in-house expertise in plant engineering with integrated image processing and in-house software development, Diegeler does not see himself and his team as imaging experts. When it comes to this topic, he has relied on STEMMER IMAGING for several years.
"At the beginning of this project, we had done intensive research to find out which providers had the required service portfolio," recalls Diegeler. "Our starting point was the special illumination we needed because of the bearing balls' reflections. The manufacturer of the appropriate lighting technology for this project was a partner of STEMMER IMAGING, so we were able to obtain all the vision system components from a single source".

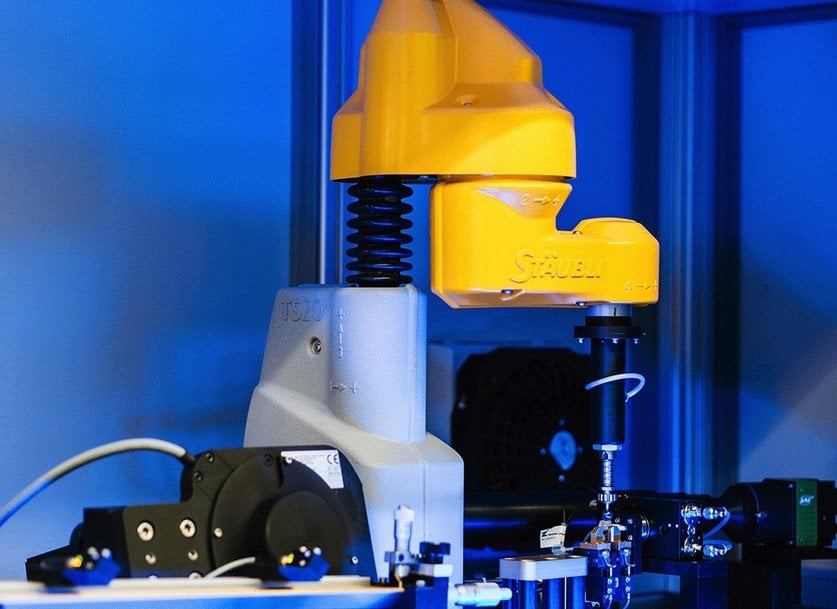
The exact handling of the bearing balls was realized using a robot.
Diegeler was particularly impressed by the fact that the vision experts were able to offer the special lenses used, the cameras and the software for evaluating the recorded images as a package that was precisely tailored to the given requirements, and also provided support in programming the system. "STEMMER IMAGING's in-depth machine vision expertise was particularly evident in the required combination of the two measurement modules," emphasises Diegeler.
"Our partner's comprehensive know-how on all issues arising in the field of machine vision and the excellent quality of the components supplied simply convinced us. We will therefore continue to rely on STEMMER IMAGING's services and products for future systems". Dr. Andreas Diegeler, Leiter des CeDeD.
The CeDeD manager sees promising opportunities for the future, particularly in the enhancement of the Common Vision Blox software library to include artificial intelligence.

The Center for Device Development has developed a fully automated, robot-based system for testing ceramic bearing balls made of silicon nitride.
Worldwide unique solution
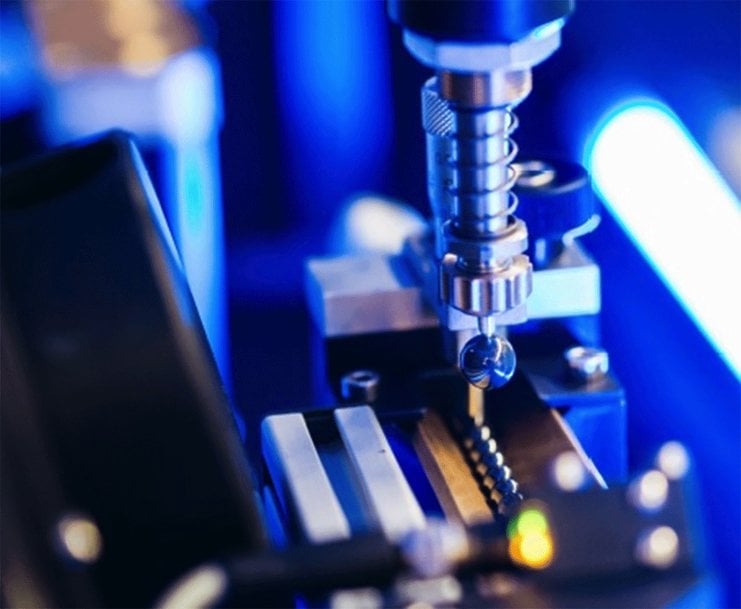
In the implemented, worldwide unique system of this kind, the bearing balls are completely three-dimensionally measured with an accuracy of 0.3 μm. To achieve this level of accuracy, high-precision camera systems with a resolution of 1 µm are used.
During evaluation, deviations from the standardized roundness and various surface defects such as scratches, breaks, dents or color deviations must be reliably detected. These defects are caused, for example, by a local overheating during the sintering process when the bearing balls are manufactured.
According to Diegeler, one of the major challenges is that the system works with high precision and is able to detect any deviation: "The system's cleanliness is therefore very important, because otherwise even the tiniest grain of dust is identified as a defect. This means that the bearing ball production must be optimized in this respect as well".

The test routine automatically evaluates deviations from the specified standard values. If the specified tolerances for ball shape or surface quality are exceeded, the defective balls are sorted out accordingly. This enables quality controls and conclusions to be drawn about any process errors during ongoing production. Here, the vision components' integration into the system via OPC-UA was an essential prerequisite for digitalized production and allows for adjustments to be made for individual tasks.
"With the CBCS fully automated ball checking system, CeDeD has opened up a new application for high-precision and non-destructive optical testing technology", enthuses Diegeler.
Without the combined forces of the Fraunhofer ISC's in-depth knowledge of materials, robot-based process automation, suitable machine vision technology and STEMMER IMAGING's profound expertise, it would not have been possible to design and implement
such an efficient and reliable system for in-process quality assurance.
Kurzportraits CeDeD
The Fraunhofer Institute for Silicate Research ISC under the leadership of Prof. Dr. Gerhard Sextl is one of the most important centers for material-based research and development in Germany. Under the motto "Materials meet...", around 400 employees work to develop innovative materials and technologies for sustainable products and make essential contributions to solving the major global issues and challenges of the future.
Research focuses on the areas of energy, biomedicine, climate and environment, digitization and adaptive systems. The Center for Device Development CeDeD, which is part of the Fraunhofer ISC, specializes in the development of scientific research equipment and facilities that are used both for the characterization of new materials and for quality control in the production process. CeDeD is certified to ISO 9001:2015.
www.stemmer-imaging.com

